Pressure washing heavy equipment is not a beauty treatment. It is maintenance work, and done correctly, it exposes leaks, cracked welds, loose fittings, and damaged guards before they become expensive failures. Done carelessly, it drives water past seals, washes grease out of bushings, and turns a $400 cleaning job into a $4,000 electrical or hydraulic repair.
I have pressure washed excavators, dozers, wheel loaders, and service trucks in Arizona dust. The rule is simple: clean the machine without attacking the components that make it earn money. The iron doesn't lie, but a layer of dried clay can hide what it is trying to tell you.
Start With a Machine-Specific Cleaning Plan
Before pressure washing heavy equipment, park on firm ground with drainage and shut the machine down completely. Let turbochargers, exhaust components, and hydraulic oil cool. Hot metal and cold water create thermal shock, and a sudden temperature change can damage components or turn a small crack into a visible failure.
Walk around the machine with a flashlight. Photograph existing damage, unplugged connectors, cracked lights, missing caps, and oil-covered areas. Cover the ignition switch, fuse boxes, alternator, battery terminals, engine air intake, and exposed electronic control modules. On older machines, the alternator and starter may have less protection than you expect. A plastic bag secured with a strap is better than trusting a ten-year-old splash shield.
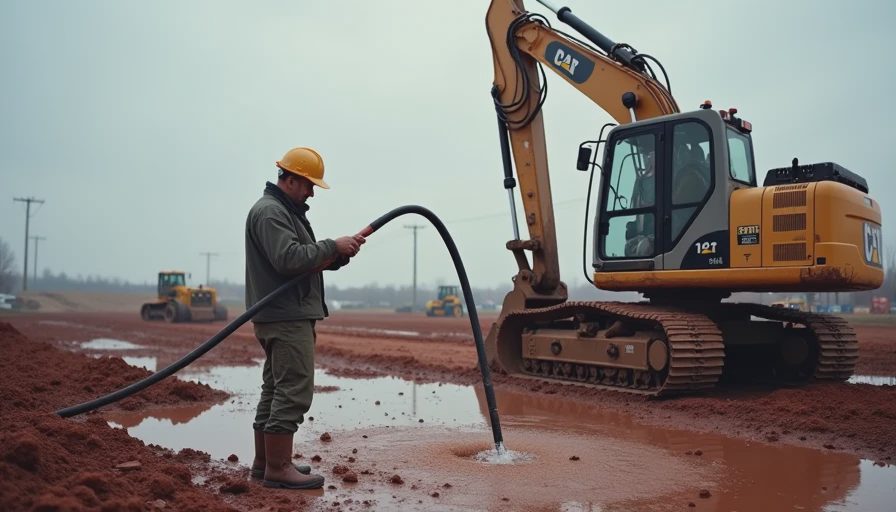
Use a 2,000-to-3,000-psi washer for most excavators and loaders, with a wide fan tip. A narrow zero-degree nozzle has a place in concrete cleaning, not near a hydraulic cylinder seal or radiator core. Keep the wand moving and maintain distance. At close range, even a moderate-pressure washer can fold radiator fins, strip decals, remove paint, or force grit under a seal lip.
Where Pressure Washing Heavy Equipment Goes Wrong
The common mistake in pressure washing heavy equipment is treating every surface as if it were a muddy steel plate. It is not. A swing bearing, grease fitting, wiring harness, radiator, and painted counterweight each require a different approach.
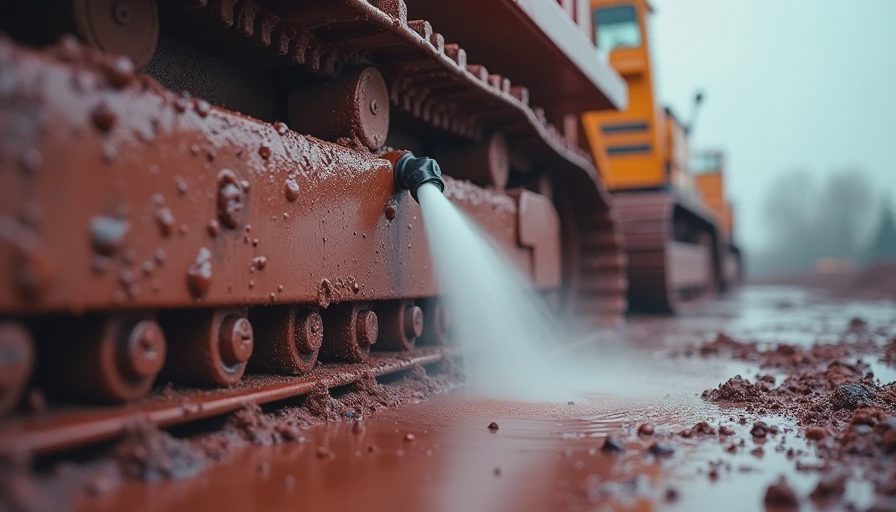
Never aim directly at swing bearing seals, final-drive seals, track adjuster seals, wheel hub seals, or cylinder rod seals. Water and abrasive dirt can enter through the seal edge. The result may not show up that day. It can appear hours later as milky gear oil, contaminated grease, or accelerated wear. Use a low-pressure rinse and a brush around these areas instead.
Radiators and oil coolers need special care. Blow loose debris out from the clean side toward the dirty side when possible, then rinse with low pressure. Spraying straight into a packed core simply drives dirt deeper. A bent fin is not a cosmetic issue; enough damaged fins can reduce airflow and raise coolant or hydraulic oil temperature under load.
Grease points should be cleaned around their fittings, but do not blast the fitting itself for several seconds. After the machine dries, grease every pivot, pin, and bushing that was exposed to water. On a loader, that includes the lift-arm pivots, bucket linkage, and steering joints. On an excavator, include the boom, stick, bucket linkage, swing circle access points, and travel-frame fittings.
The Cleaning Sequence I Use in the Yard
Pressure washing heavy equipment works best when the sequence removes contamination without redistributing it. Start at the top and work downward. Rinse loose dust first, then apply a diluted equipment-safe degreaser to the engine compartment, belly pan, hydraulic tank area, and greasy frame sections. Let the chemical dwell according to its label, but do not allow it to dry on painted surfaces.
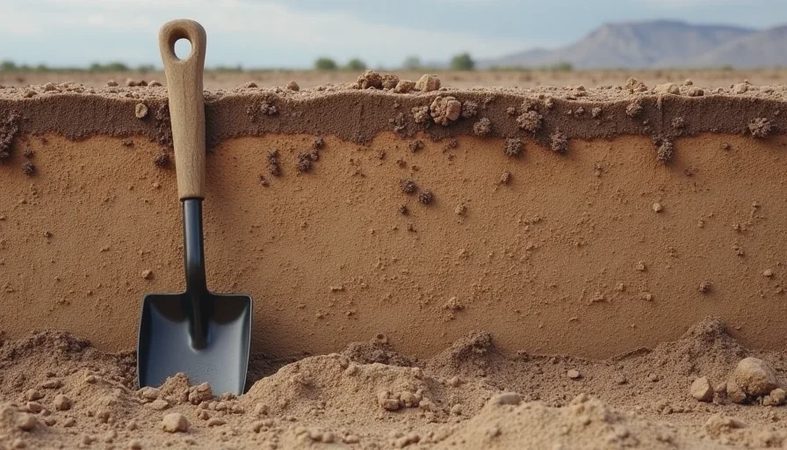
Work in sections: cab roof and windows, hood, engine compartment, upper structure, undercarriage, then attachments. Rinse each section before moving to the next. For a tracked excavator, clean the undercarriage last because it carries the heaviest mix of clay, rock, and oil. Use a shovel or plastic scraper before the washer where packed material is several inches thick. Water is a poor substitute for mechanical removal.
Keep the nozzle at an angle rather than pointing straight into seams. That pushes contamination away from seals and electrical connectors. Avoid harsh caustic cleaners on aluminum, polished cylinder rods, and painted surfaces. A product that cuts grease quickly can also stain aluminum and dull powder coating.
After rinsing, run the engine and operate each hydraulic function at low speed. Watch for warning lights, irregular pump noise, and water trapped around connectors. Do not immediately bury the machine in a heavy production cycle. Give it time to dry, then inspect the areas you photographed before cleaning.
Drying, Lubrication, and the Post-Wash Inspection
The drying stage is where many cleaning jobs fail. Use compressed air around electrical connectors, hose ends, quick couplers, fuel-system components, and recessed bolt heads. Do not direct high-pressure air into seals or bearing cavities. It can force dirt and moisture farther inside.
Open access panels and let the machine sit in a ventilated area. On a hot Phoenix day, surface water disappears quickly, but trapped water under belly pans and inside track frames can remain much longer. In a humid region, drying takes longer and corrosion risk is higher. A clean rag around connectors tells you more than looking at the paint.
Pressure washing heavy equipment should always be followed by lubrication. Pump fresh grease until the old contaminated grease is displaced, but stop if a seal begins to balloon. Wipe excess grease away so it does not collect dust. Check hydraulic oil, engine oil, coolant, and final-drive levels. If any fluid looks cloudy or foamy, record it and pull a sample before putting the machine back to work.
Inspect for new evidence while the machine is clean. Look at cylinder rods for pitting, hose jackets for exposed reinforcement, and fittings for wetness. A clean boom can reveal a pin boss crack that was invisible under dried mud. A clean engine block can show the exact trail from a valve-cover leak or a loose hydraulic fitting.
Cost, Frequency, and When to Hire a Pro
For a contractor with a washer and a proper wash pad, routine pressure washing heavy equipment may cost roughly $100 to $300 in labor and supplies for a compact excavator, or $250 to $700 for a larger loader or dozer. Mobile commercial cleaning often costs more, especially when mud removal, degreasing, wastewater recovery, and travel are included. The number matters less than the downtime avoided.
Clean machines before scheduled inspections, before selling used equipment, and after work in contaminated soil or heavy clay. Do not wash simply to make a machine look newer for an auction. A clean machine should be accompanied by service records, fluid samples, and clear photos of repaired areas. Buyers trust evidence, not shiny counterweights.
Hire a professional when the machine has heavy oil contamination, asbestos concerns, fuel spills, difficult wastewater requirements, or sensitive electronics that cannot be protected confidently. A contractor should also know local rules for collecting and disposing of wash water. Sending oily runoff into a storm drain is not maintenance; it is a liability problem.
My Final Checklist Before Production Work
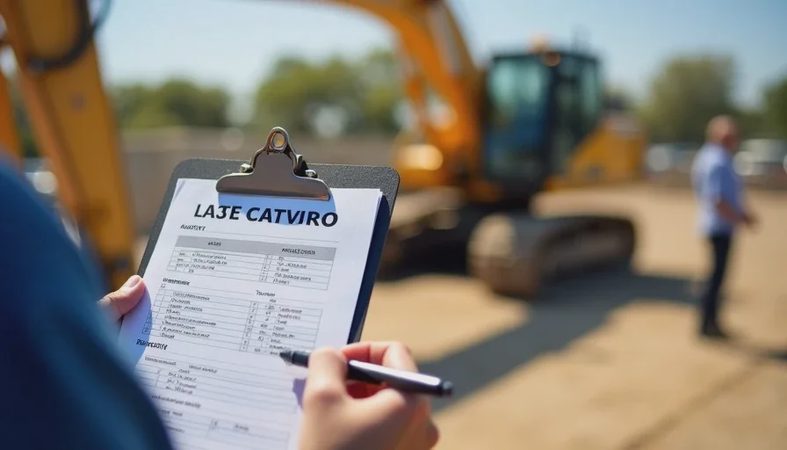
Pressure washing heavy equipment is finished only after the machine passes a short inspection. Confirm that air filters and intake caps are secure, access panels are closed, connectors are dry, and no plastic covering remains near hot or moving parts. Check that grease fittings are open, pins are lubricated, and no nozzle has damaged a radiator core.
Start the engine and let it reach operating temperature. Test lights, gauges, backup alarms, travel, steering, attachment functions, and any auxiliary hydraulics. Walk around again while looking for fresh leaks. A fitting that stayed dry under mud may start sweating when system pressure returns.
The three-sentence diagnostic is still the best one: here is the symptom, here is the root cause, and here is what to do about it. Pressure washing heavy equipment gives you the first sentence clearly. Your inspection and maintenance records supply the other two.
Hours logged: varies by machine and job. Fluid samples pulled: whenever contamination is suspected. Parts replaced: only after evidence supports the repair. Iron tested. Iron told.
00 Transmissions
No transmissions yet. Yours opens the channel.